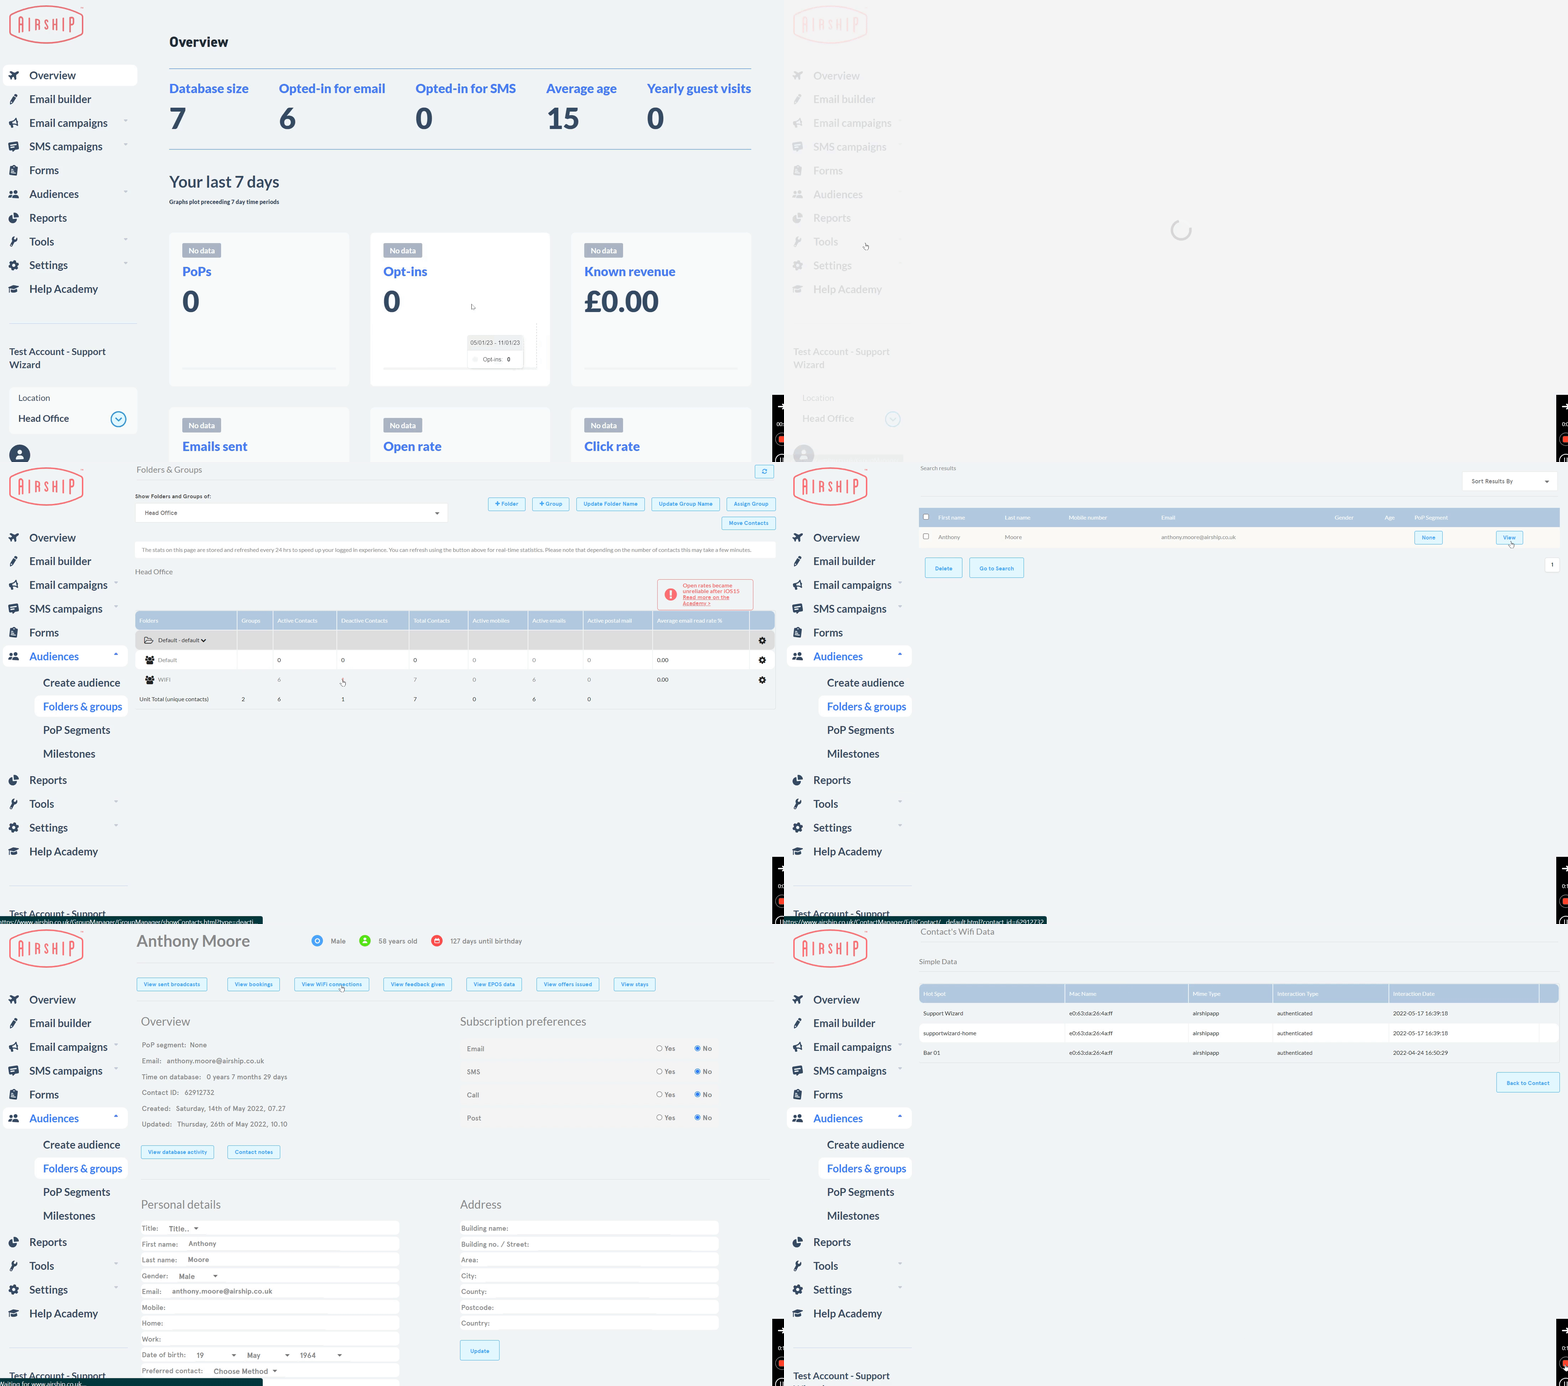
Switching on the Airship connector means that each time a customer is detected on your WIFI, the customer data will be automatically sent to your Airship database.
Getting Started
The integration will run in near real-time and update your database.
In order to set up the Airship integration, you will need the following details from your account manager or support, click here to generate an automatic email to Airship Support
- Airship Personal Access Token (Read + Write)
- Airship Account ID
- Airship unit IDs
Creating an API token
You'll need to create an API "Personal Access Token" for Captive WIFI to pass data into your account securely. To do this. you can either;
- Invite help@captivewifi.io as a user to your Airship account and our team to this for you, or;
- You can create an API Personal Access Token, click here to launch the guide
Adding your data to the Captive WiFi Dashboard
- Click company integrations (or this link)
- Visit the Airship Tab and insert your API Auth Token
- Under manage venue, click the Integrations tab and choose the Airship tab and type in the relevant Unit ID for this location (please note if you insert the incorrect location, the data will be synced to the wrong venue)
What data can be sent to Airship?
- First name
- Last name
- Gender
- Date of Birth
- Mobile number
- Email address
- Email opt-in
- SMS opt-in
A PoP is also created each time a user connects to the WiFi.
Feedback sentiment is also sent to Airship


